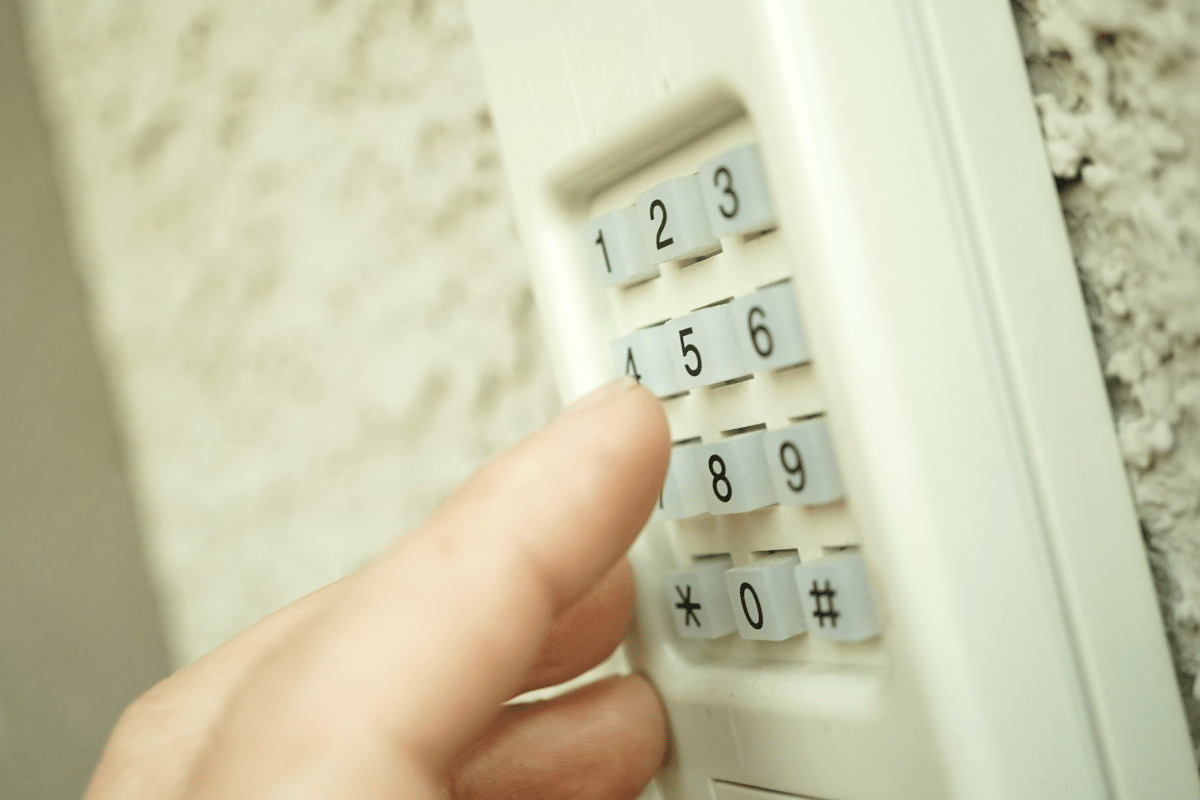
If you’ve ever found yourself unable to open your garage door using the keypad, it could be due to a simple issue: the battery needs replacing. At MS Garage Door Service in Pennsylvania, we understand the frustration of malfunctioning garage door equipment. Here, we provide a detailed guide on how to change the battery in your garage door opener keypad, ensuring you can access your garage smoothly and efficiently.
Introduction to Garage Door Opener Keypads
Garage door opener keypads are a convenient way to open and close your garage without needing a remote control. Located outside the garage, these keypads require a security code for operation. Over time, the battery that powers the keypad can deplete, necessitating a change.
Step-by-Step Guide to Replacing the Battery
Step 1: Identify Your Keypad Model
Before you can change the battery, you need to know what type of keypad you have. Common brands include LiftMaster, Genie, and Chamberlain. Refer to your user manual for specific model information.
Step 2: Access the Battery Compartment
Typically, the battery compartment is located at the back of the keypad or under a sliding cover at the front. You might need a screwdriver to open the compartment.
Step 3: Remove the Old Battery
Once you have access, take out the old battery. Most keypads use a 9-volt battery, but check your model’s requirements to be sure.
Step 4: Insert the New Battery
Place the new battery in the compartment, ensuring the positive and negative terminals match the keypad’s settings.
Step 5: Test the Keypad
After replacing the battery, test the keypad by entering your garage code. If the door responds, you’ve successfully changed the battery.
Step 6: Close the Battery Compartment
Secure the battery cover back in place. Use the screwdriver if necessary.
Changing the Battery in Garage Door Opener Keypad
| Step | Action | Details |
|---|---|---|
| 1 | Identify Keypad Model | Check user manual for model information. |
| 2 | Access Battery Compartment | Open using a screwdriver if required. |
| 3 | Remove Old Battery | Take out the old battery, usually a 9-volt. |
| 4 | Insert New Battery | Match terminals correctly and place the new battery in the slot. |
| 5 | Test Keypad | Enter security code to ensure functionality. |
| 6 | Close Battery Compartment | Replace the cover and secure with a screwdriver if necessary. |
Frequently Asked Questions
What type of battery does my garage door keypad use?
Most garage door opener keypads use a 9-volt battery, but it’s important to check your specific model’s requirements. Some models may use AA or AAA batteries.
How often should I change the battery in my garage door keypad?
It’s a good practice to change the battery every 1-2 years. However, if you notice the keypad is not responding as it should, check the battery sooner.
What should I do if my keypad still doesn’t work after changing the battery?
If your keypad doesn’t work after a battery change, you might need to reprogram it. You can find instructions on how to do this in your user manual or by visiting our garage door keypad troubleshooting guide.
Can weather affect the lifespan of my garage door keypad’s battery?
Yes, extreme temperatures can affect battery performance. Cold weather can cause batteries to drain faster, so it may be necessary to change them more frequently in colder climates.
Conclusion
Changing the battery in your garage door opener keypad is a simple yet essential maintenance task that ensures continuous and efficient access to your garage. With the detailed steps and table provided, you can easily replace the battery and keep your system running smoothly. For more information on various garage door issues and their solutions, consider reading about how to bypass garage door sensors, or explore the differences between wall-mount and ceiling-mount garage door openers. If you have any further questions or need professional assistance, don’t hesitate to contact us at MS Garage Door Service in Pennsylvania. We’re here to help you with all your garage door needs, from simple maintenance to complex repairs.


